
How to install the chat widget in YakDesk
Customers ask for help where they get stuck: on your site or in your app. The chat widget puts a chat button on every page, and each conversation lands in your YakDesk inbox with the visitor's recorded session attached.
Before you start
- An Owner or Admin role in YakDesk
- Access to your site's HTML or footer template
Plays silently with captions; the narrated version is on its way.
Transcript
Put a live chat button on your website, connected to your YakDesk inbox.
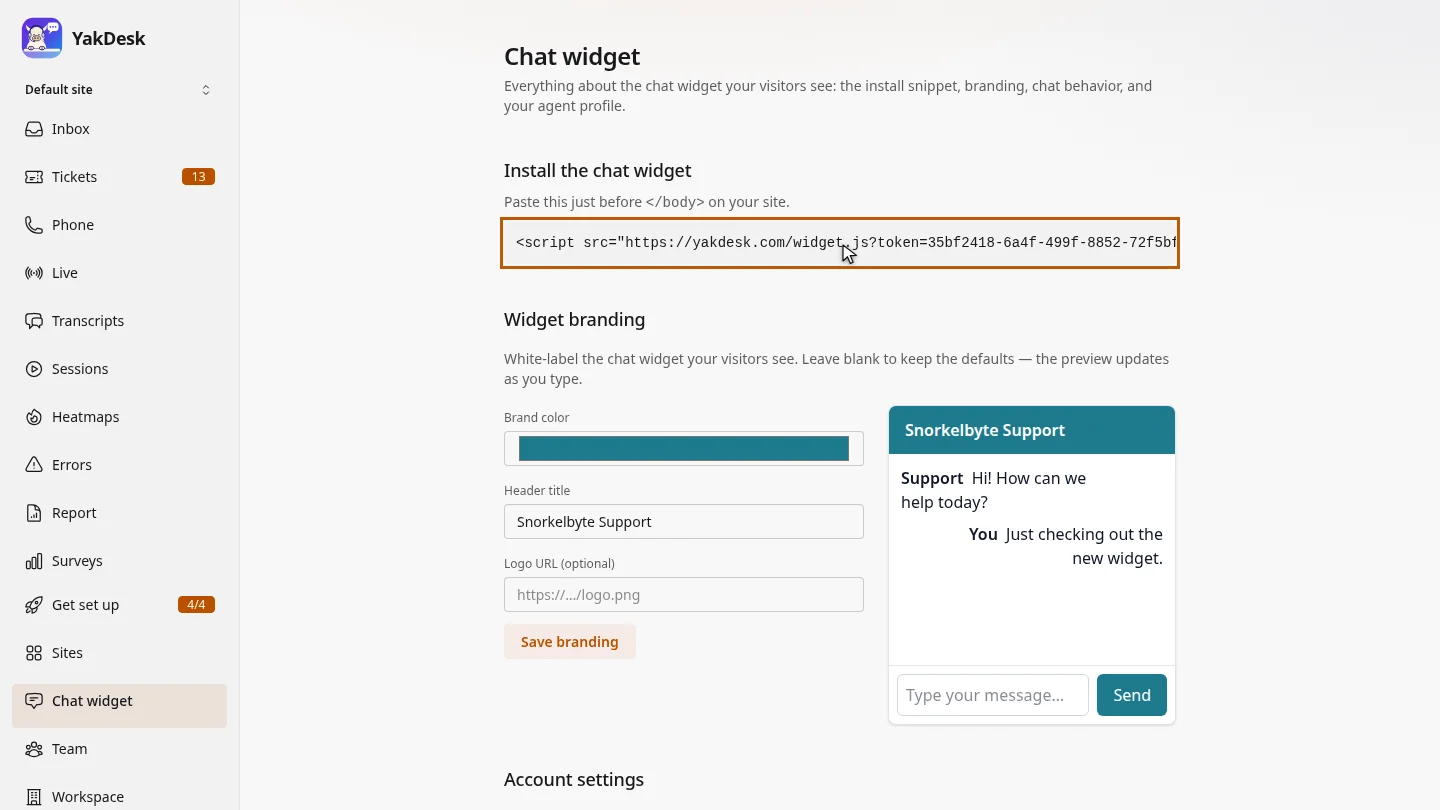
Open the Chat widget page. Under Install the chat widget, copy the snippet. It already contains your workspace's token, so there's nothing to edit.
Paste it just before the closing body tag on every page, or once in your site's footer template. The chat button appears on the next page load.
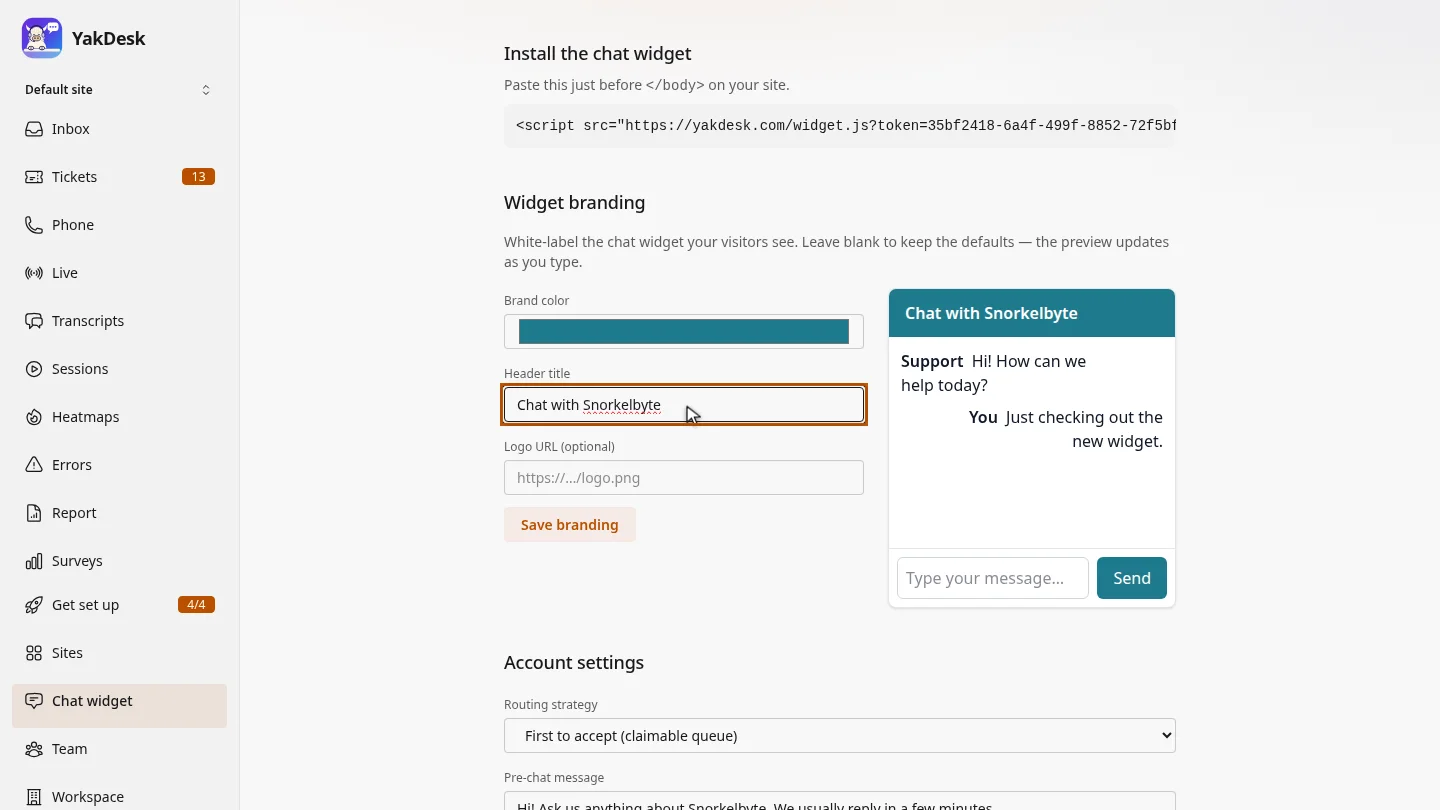
Under Widget branding, give the chat window a header title your customers will recognise. The preview on the right updates as you type.
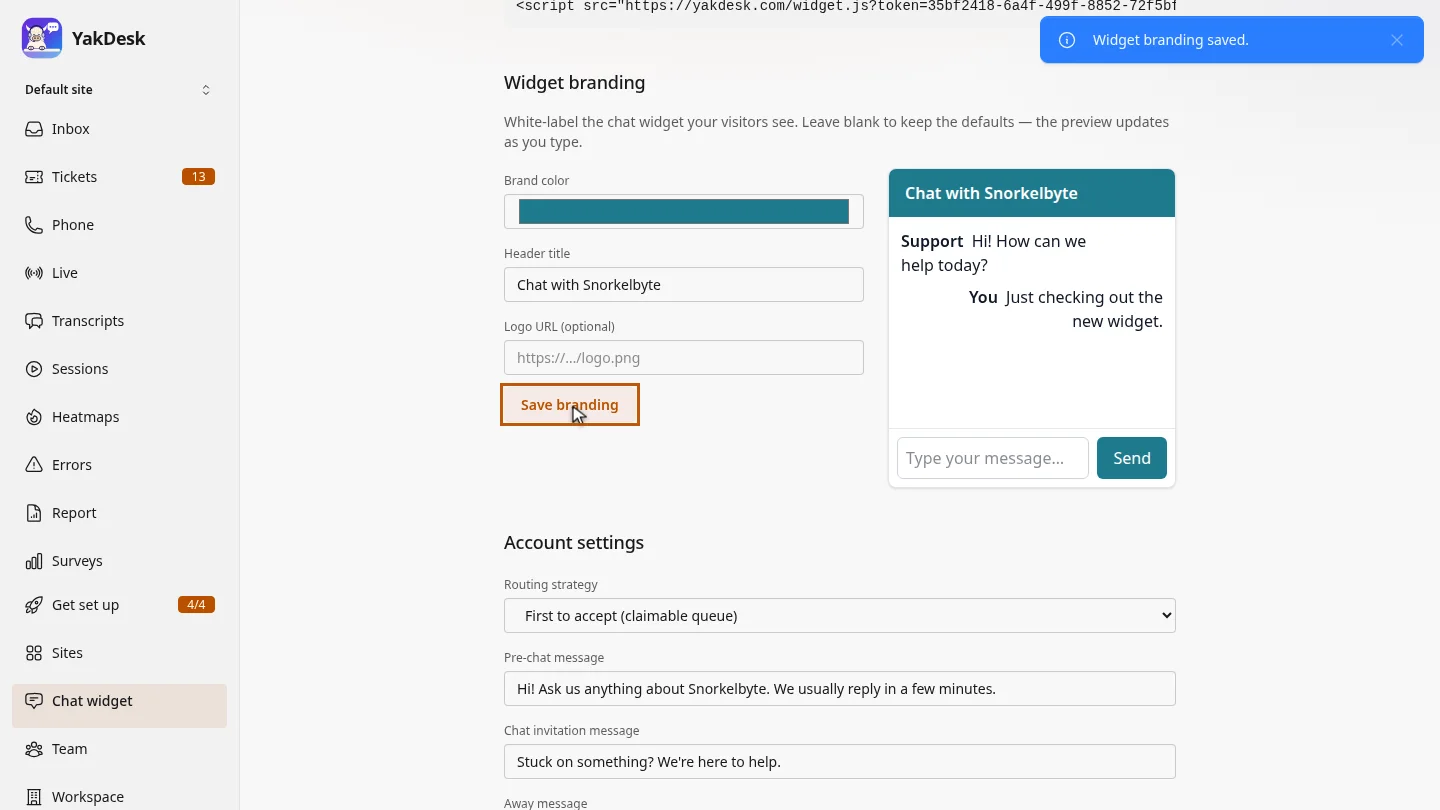
Select Save branding. Every visitor sees the new title the next time they open the chat.
Steps
Copy the snippet ▶ 0:06
In the sidebar, select Chat widget. Under Install the chat widget, copy the snippet.
Paste it into your site ▶ 0:17
Paste the snippet just before
</body>on each page, or once in a shared footer template.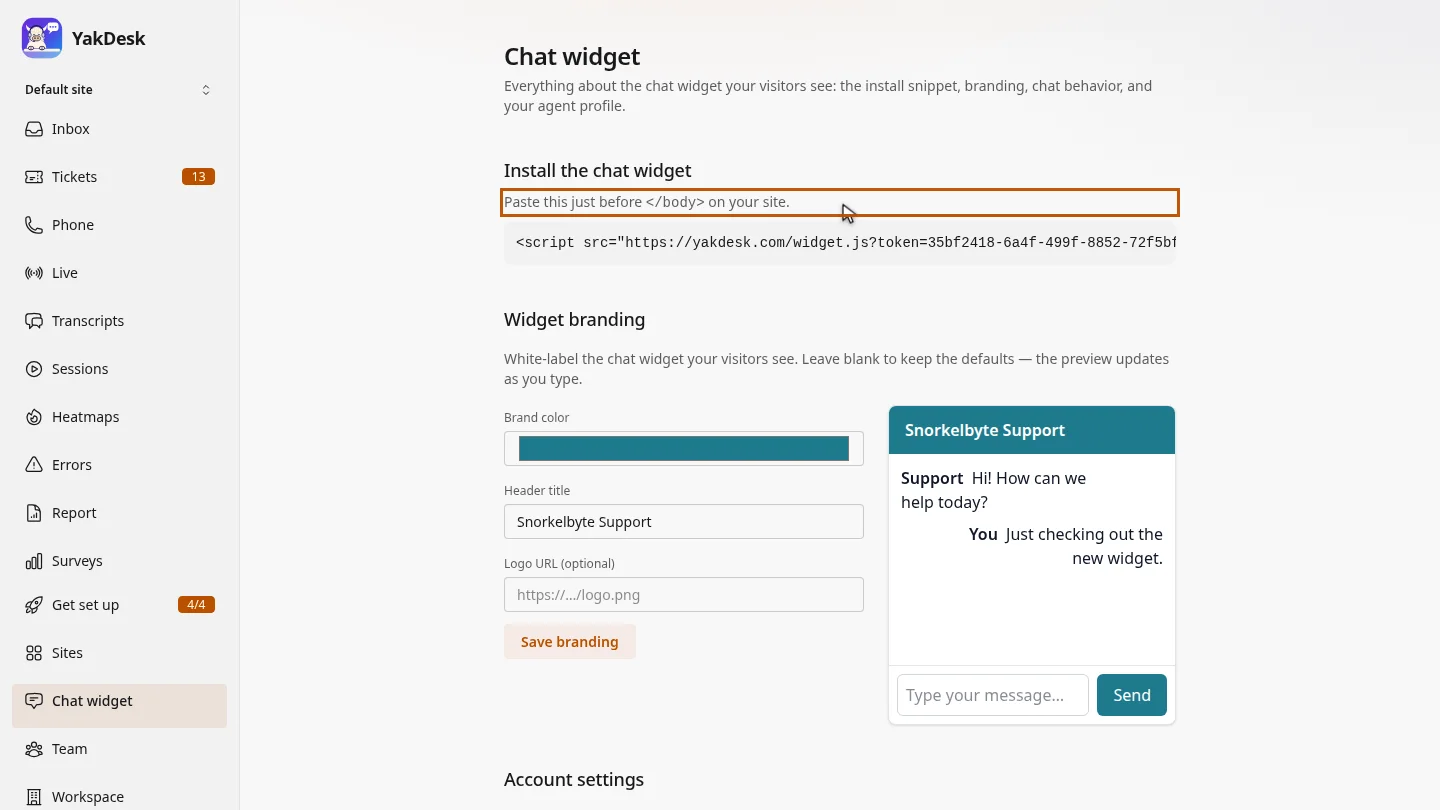
Brand the widget ▶ 0:27
Optional: under Widget branding, change Header title (and Brand color). The preview updates as you type.
Save the branding ▶ 0:37
Select Save branding. A Widget branding saved. message confirms it.
Next steps
Updated 2026-10-26
chat widget live chat snippet install live chat embed chat website chat