
How to create a ticket API key in YakDesk
Your own scripts and tools can read and update tickets through the YakDesk REST API and MCP server. Each tool gets its own key, with only the access it needs, so you can revoke one without breaking the others.
Before you start
- A Growth or Agency plan (tickets are included)
- An Owner or Admin role in YakDesk
Plays silently with captions; the narrated version is on its way.
Transcript
Give your own tools access to tickets, with a key for each one.
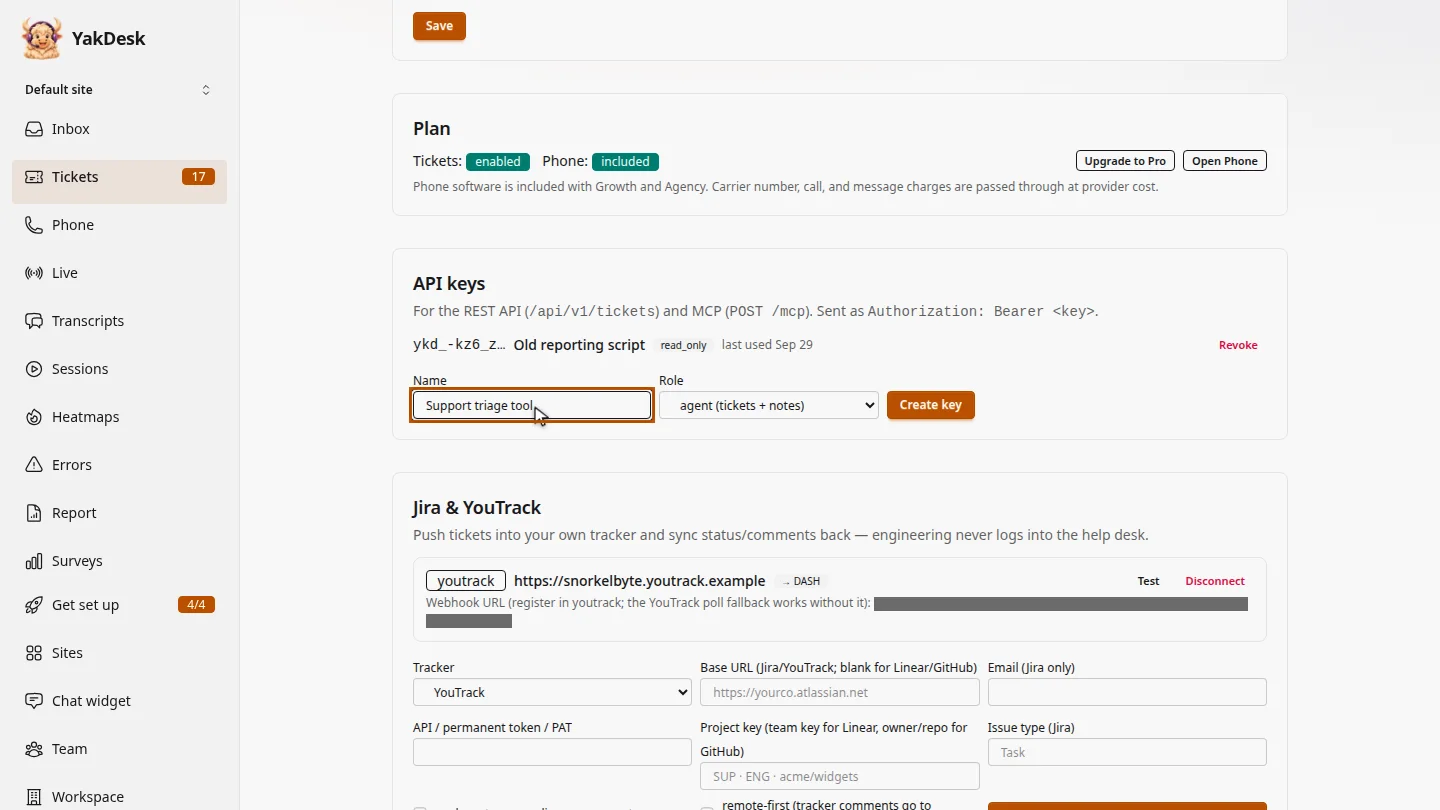
In Tickets, open Settings and scroll to API keys. Name the key after the tool that will use it, such as your triage tool.
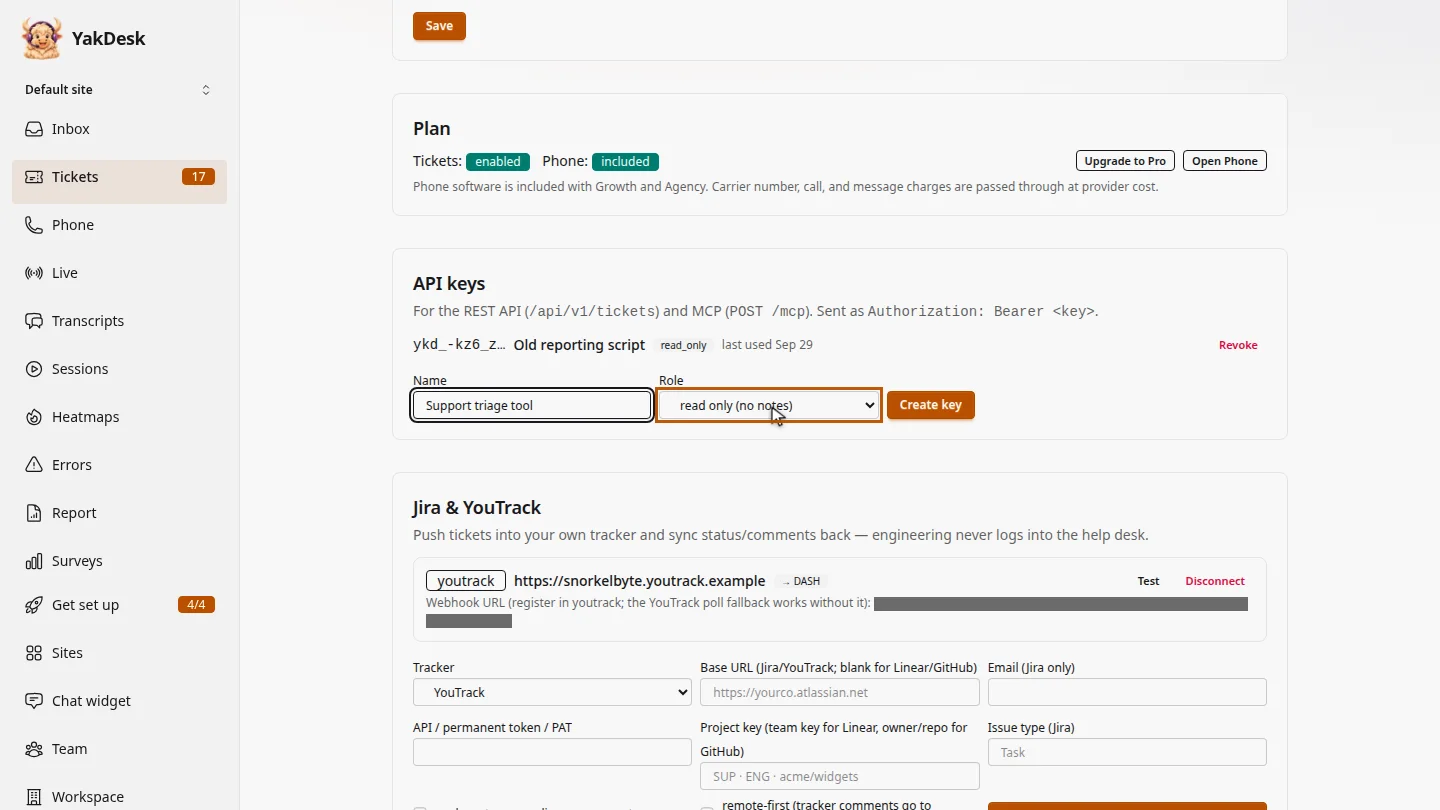
Choose a role. Read only can view tickets but not add notes; agent can also add notes; admin has full access.
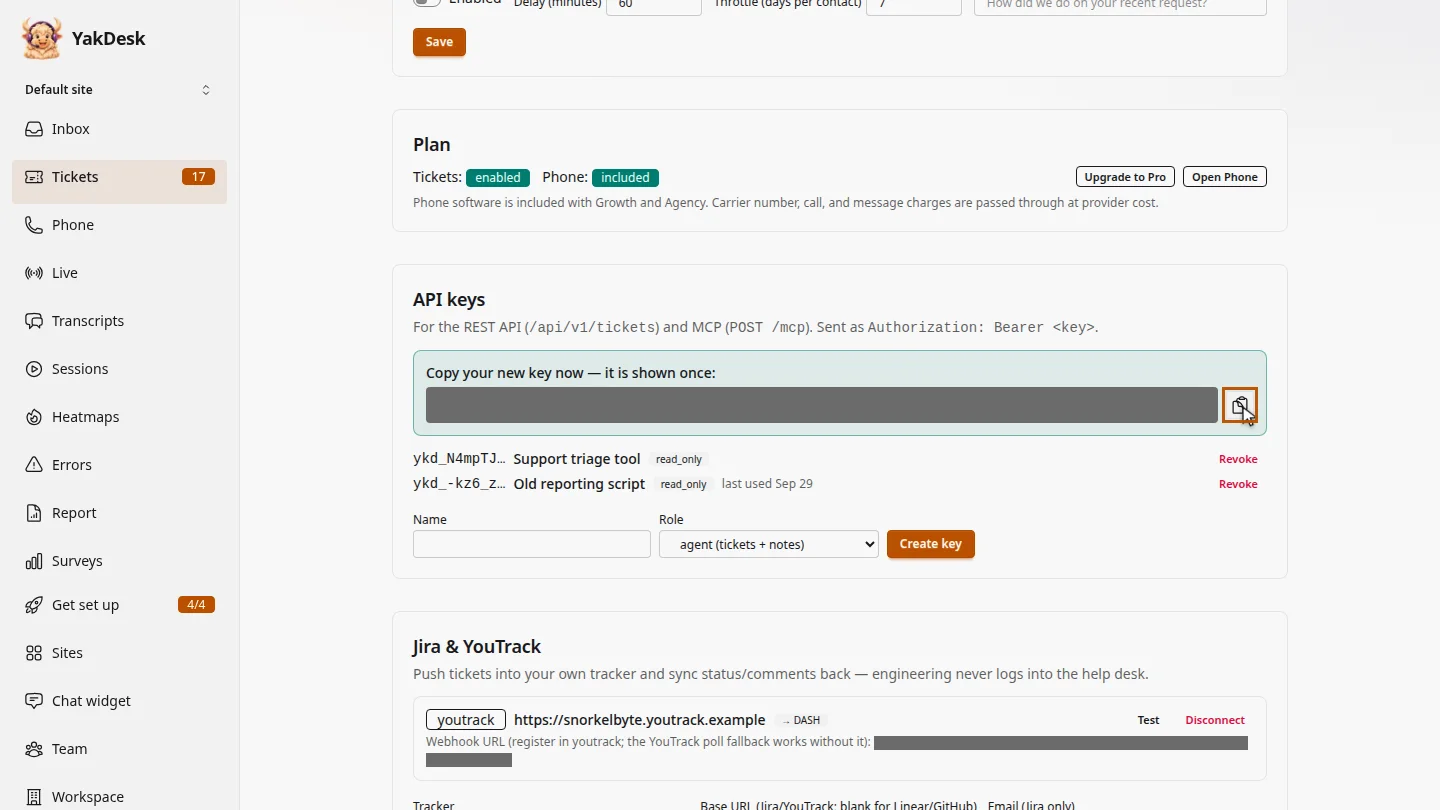
Select Create key. The key is shown once, so select Copy API key and store it in your tool's settings now.
Steps
Name the key ▶ 0:05
In Tickets, select Settings. Under API keys, enter a Name.
Choose its access ▶ 0:14
For Role, choose read only (no notes), agent (tickets + notes) or admin. Give each tool the least access it needs.
Create and copy it ▶ 0:23
Select Create key, then select the Copy API key button and store the key somewhere safe. YakDesk shows it only once.
Authorization: Bearer <key>.Next steps
Updated 2026-11-09
api key rest api mcp bearer token integration automation