
How to set up single sign-on (SSO) in YakDesk
Let your team sign in with the company identity provider they already use, such as Okta or Microsoft Entra ID. When someone leaves, turning off their company account also removes their way into YakDesk.
Before you start
- An Owner or Admin role in YakDesk
- An OIDC app registered in your identity provider, with its issuer URL, client ID and client secret
- Access to your domain's DNS, to verify the email domain
Plays silently with captions; the narrated version is on its way.
Transcript
Send your team to your company identity provider when they sign in to YakDesk.
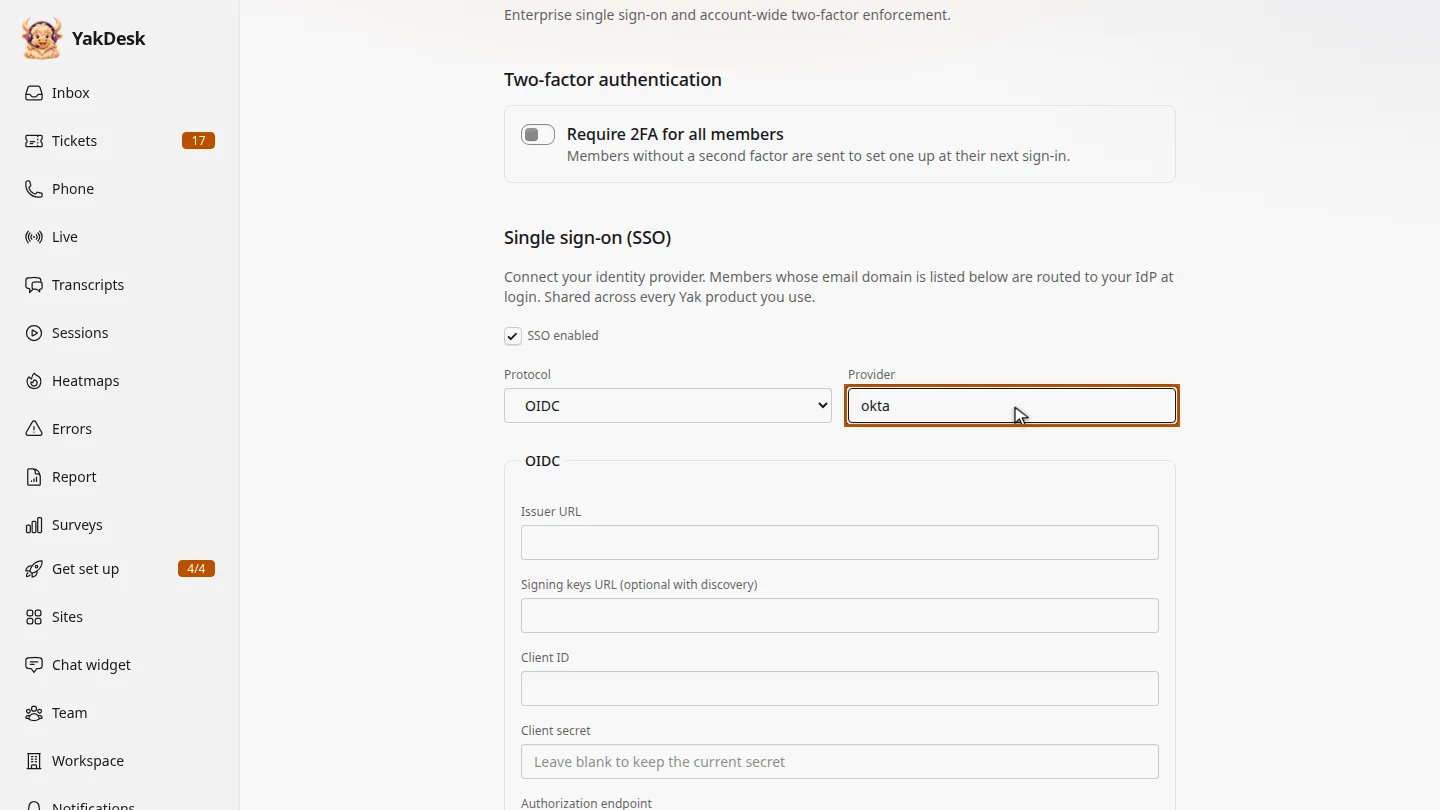
Open Security. Under Single sign-on, make sure SSO enabled is ticked, keep the protocol on OIDC, and name your provider.
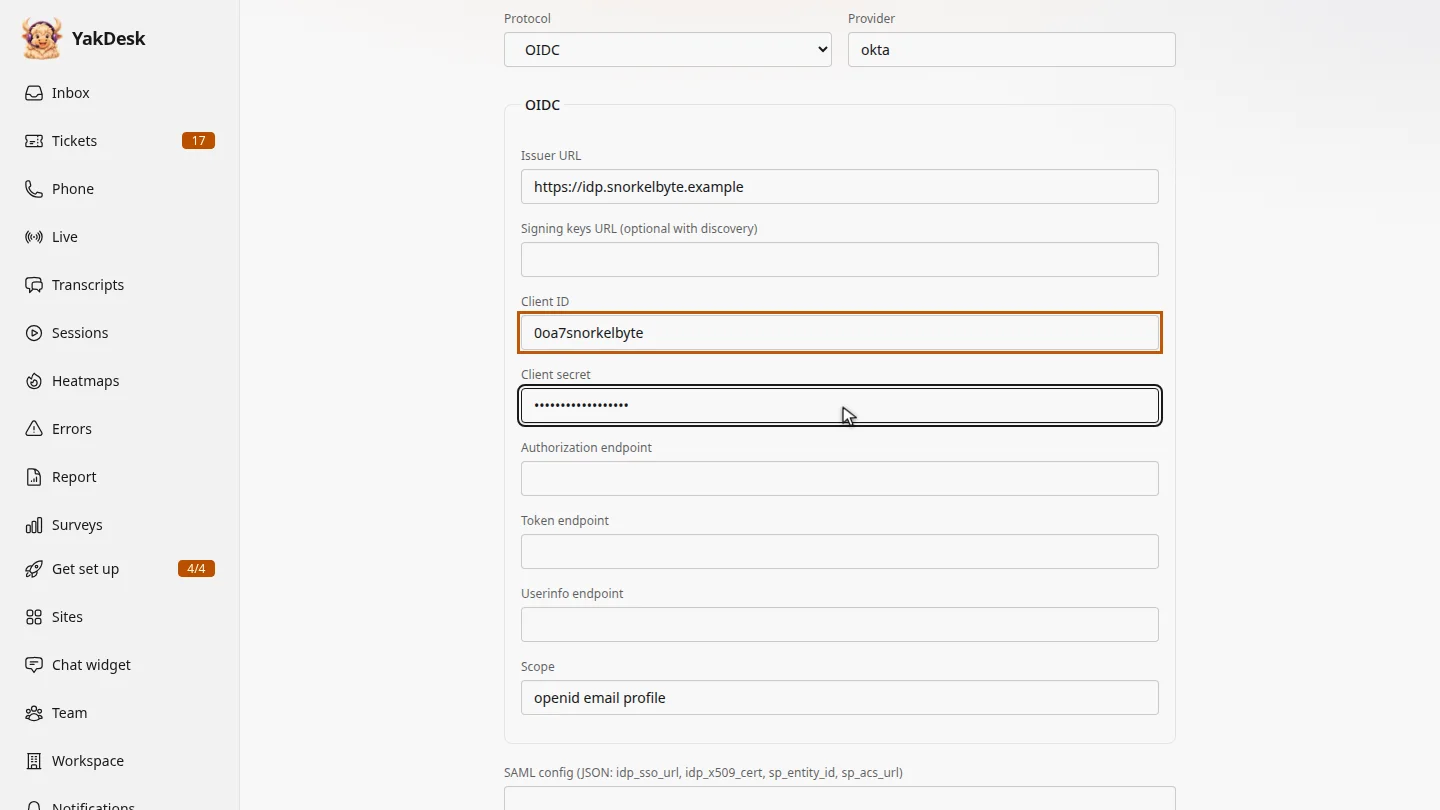
From your identity provider app, copy in the Issuer URL, the Client ID and the Client secret. If your provider does not publish its settings through discovery, add the signing keys, authorization and token endpoints too.
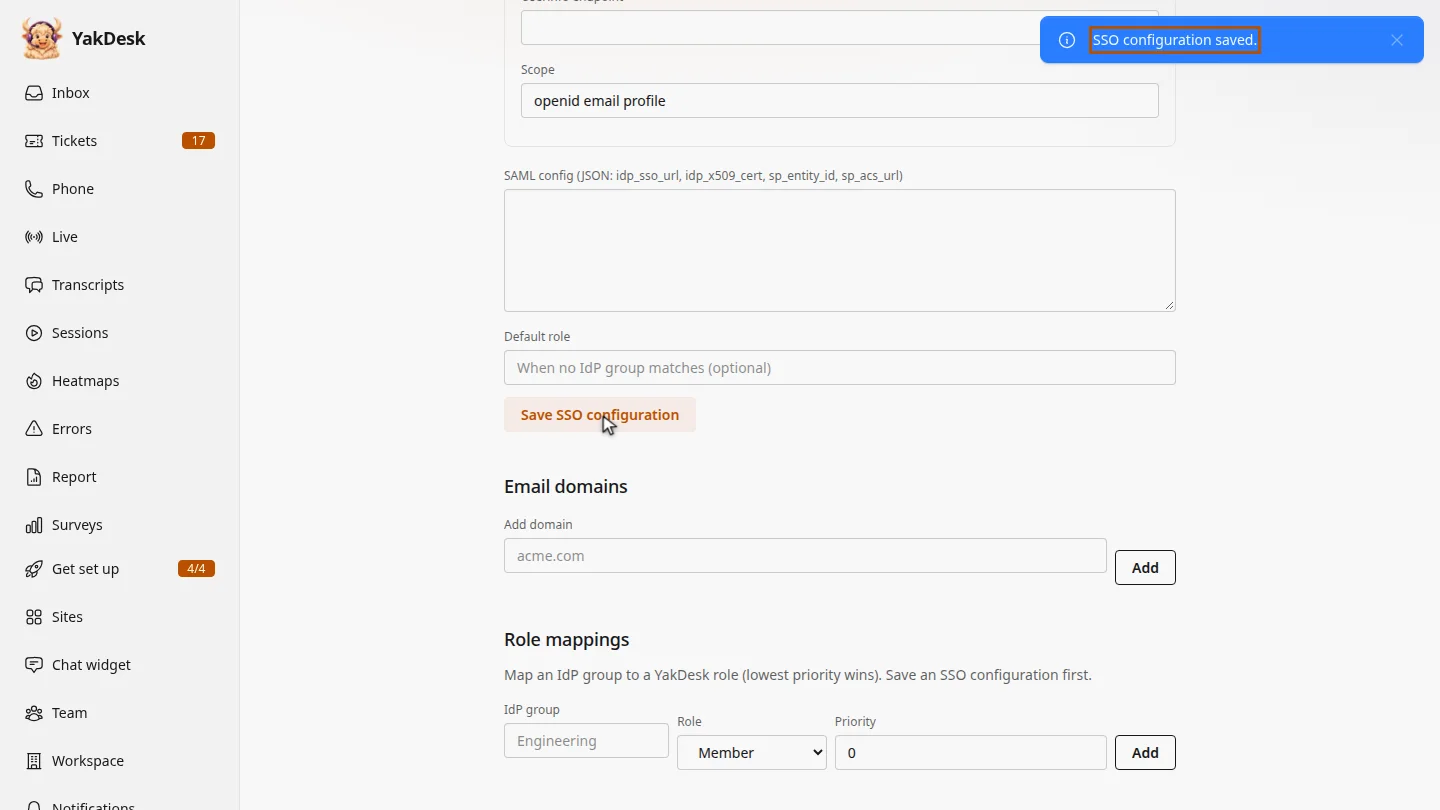
Select Save SSO configuration. A confirmation appears at the top of the page.
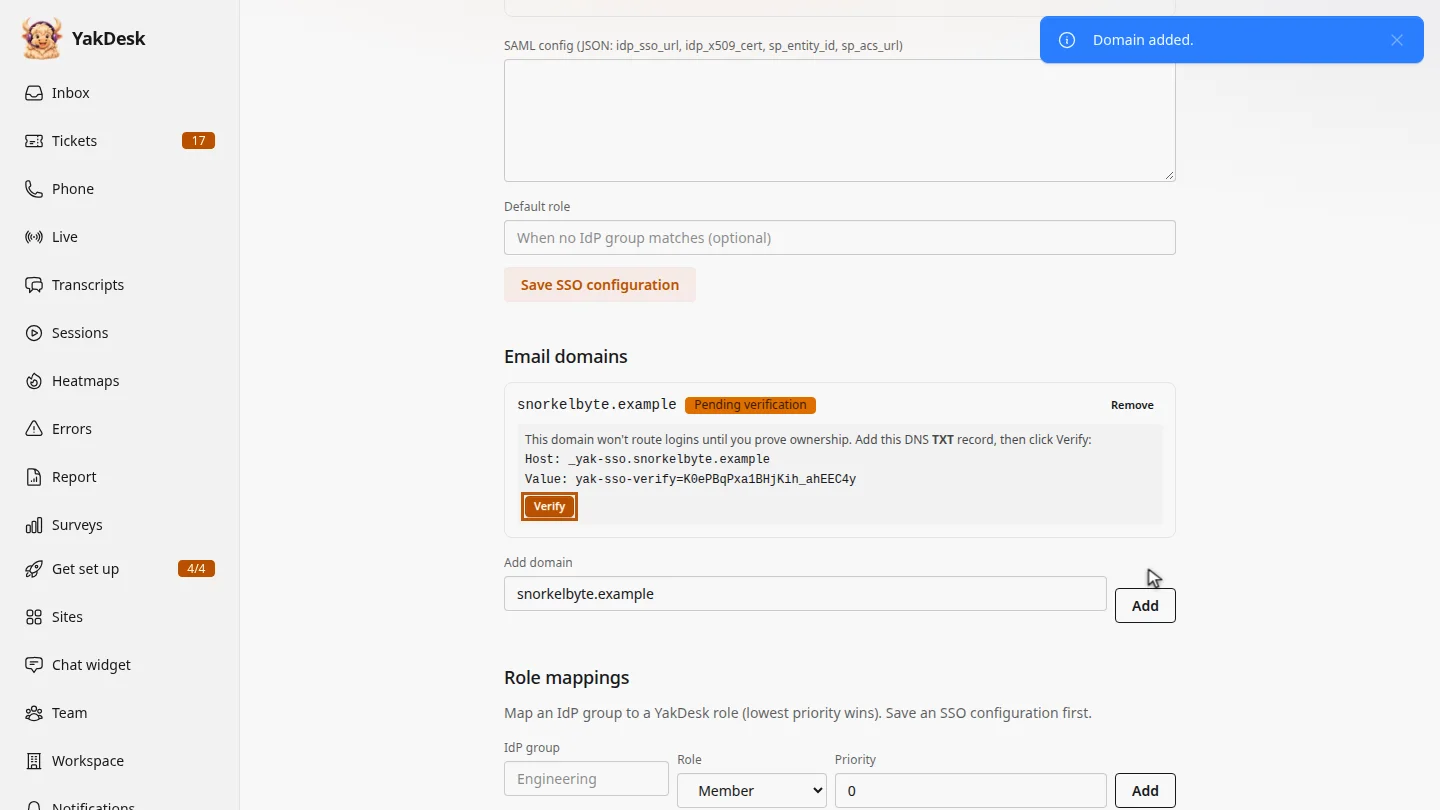
Under Email domains, add your company's domain. YakDesk shows a DNS TXT record: add it at your DNS host, then select Verify. Only verified domains are sent to your provider.
Steps
Turn on SSO ▶ 0:06
In the sidebar, select Security. Under Single sign-on (SSO), make sure SSO enabled is selected, choose a Protocol and enter your Provider.
Enter the provider details ▶ 0:15
Enter the Issuer URL, Client ID and Client secret from your identity provider. If YakDesk can't discover the rest from the issuer, also enter Signing keys URL (optional with discovery), Authorization endpoint and Token endpoint.
Save the configuration ▶ 0:31
Select Save SSO configuration. An SSO configuration saved. message confirms it.
Add and verify your email domain ▶ 0:37
Under Email domains, enter your domain in Add domain and select Add. Add the TXT record shown to your DNS, then select Verify.
Next steps
Updated 2026-11-09
sso oidc saml okta entra id azure ad identity provider